Loco Translate - Getting Started
Creating a PO and MO file for translation.
WordPress uses PO and MO files to manage translations. The reality is that WordPress only needs MO files to manage translations. PO files are human readable translation files, they are those files with a list of strings ready to be translated or with a translation already included. They are those files that Loco Translate uses to show you the strings.
Methods of Translation
There are two commonly used ways to translate a theme or plugin:
- Directly within WordPress by using a localization plugin
- On your PC/Mac, using the desktop software Poedit
Today we will learn how to translate themes and plugins using Loco Translate.
1: Install Loco Translate
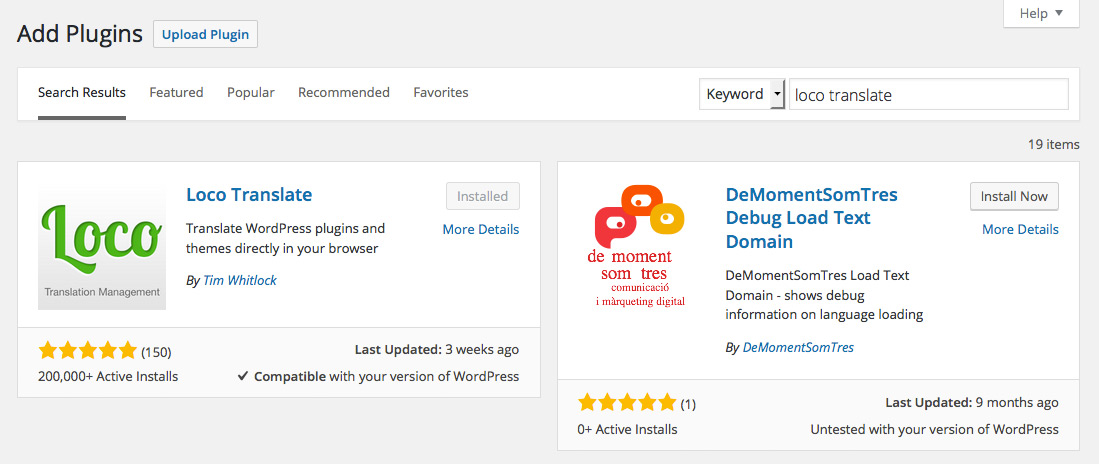
To install the plugin go to Plugins > Add New menu and search for Loco Translate to filter out the plugins list and click on the Install button to install the plugin on your WordPress installation.
After the installation is finished you need to click on the Activate Plugin link to activate Loco Translate. You’ll then see a Loco Translate menu item towards the bottom of the WordPress sidebar.
2. Check you can switch language
Loco Translate isn’t responsible for setting your WordPress language, but we’ll cover this step because it’s important.
Go to the Settings > General screen in WordPress and scroll to the bottom. You should see a dropdown list with the label “Site Language”. Changing this will set a new default language for all site visitors. Try it and see.

We’re going to set the language to English (Canada), listed under “Available > English” in the list. Once WordPress has downloaded the core language packs for English this entry will move to the “Installed” section.
Using a child theme?
Makes sure make a /languages folder inside your child theme folder and then copy embark.pot / stratus.pot from the parent theme into your child theme /languages folder.
3. Next, Create a Translate File
When you are ready, you will have a new menu item named Loco Translate on the left in your Dashboard. Click on Loco Translate > Themes
You'll see Embark / Stratus or if you are using the Child theme Embark - Child / Stratus - Child, click 'New Language'

You’ll be directed to the following screen. Try the custom option first, if that won't work, try Author.

4. Translate the Text
On the next screen, we’ll see a split between all of the strings within a theme, the Source text and an empty panel beneath where you can add your own translation.

Once saved you should see the new translation showing up on the website.

Google Translate can help with translations if you are translating in a language that you do not speak.
5. Repeat for any other language that are you using on your website.

Example:

Result: (Using Polylang you can create a page and set it's language)
